Earlier this month I spent an afternoon on Messenger walking a pastor through setting up Google for his church. He was on his laptop, I was on my phone, and he sent me a photo of every screen as he went. By the end his church had free professional email on its own domain, email signing set up so its messages don't land in spam, and applications in for Google's free advertising grant.
It took us a couple of sittings. It shouldn't have. Nothing we did was hard. Google just doesn't tell you what order to do things in, and it uses words like TXT record and DKIM as if every pastor has an IT department.
So here's the whole thing, using the photos he sent me. If you've been putting this off, this is the evening to do it.
What Your Church Gets (Free)
Once you're approved for Google for Nonprofits, you can switch on:
- Google Workspace for Nonprofits. Real email addresses like pastor@yourchurch.com instead of firstbaptist1987@gmail.com, plus shared Drive, Calendar, Meet, and Docs for your staff and volunteers. It's free.
- Google Ad Grants. Up to $10,000 a month in Google Search ads, so when someone in your town searches church near me or grief support, your church can show up.
- YouTube Nonprofit features. Donation links and a few extra tools on your church's channel.
The email alone is worth it. A church email on your own domain looks trustworthy, isn't tied to one person's personal Gmail, and doesn't get lost when a secretary or youth pastor moves on.
Before You Start: Have These Three Things Ready
- Your domain login. This is wherever your church's web address (yourchurch.com) is managed: GoDaddy, Squarespace, Cloudflare, Wix, AWS, or wherever it was bought. If you don't know, ask whoever built your website. This is where most people get stuck, so find it first.
- Your church's legal name and EIN. They need to match what the IRS (or your state) has on file.
- One Google account the church will own. Ideally not your personal Gmail. More on this in the snags below.
Step 1: Get Your Church Approved for Google for Nonprofits
Go to google.com/nonprofits and click Get started. You'll enter your church's details, and Google's verification partner, Goodstack, will confirm you're a genuine nonprofit.
A note for churches: many congregations aren't listed in the IRS database, because churches don't have to apply for recognition to be tax-exempt. If Goodstack can't find you automatically, it will ask for proof. Upload your IRS determination letter if you have one, or your articles of incorporation. This can take a few days, so start it first.
Step 2: Request Google Workspace for Nonprofits
Once you're approved, open your Google for Nonprofits account and choose Google Workspace for Nonprofits. You'll see this four-step card:
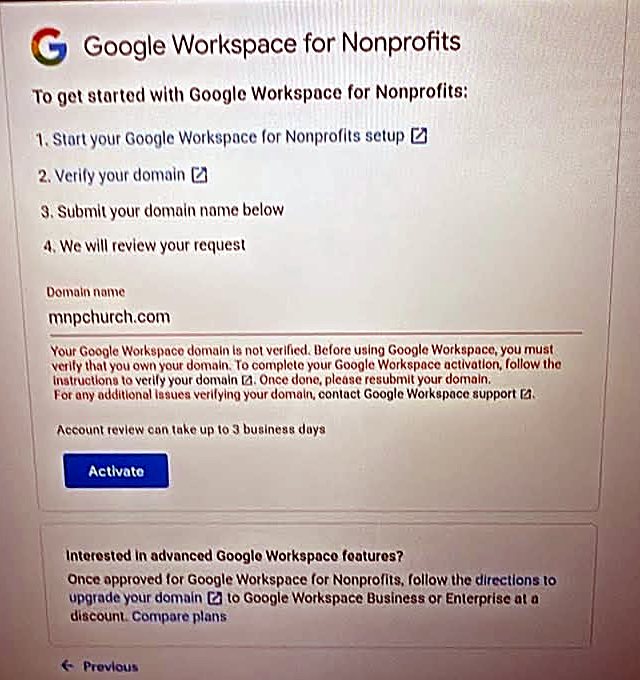
Do these in order. Click Start your Google Workspace for Nonprofits setup (step 1) first. This creates your Workspace account and admin login. Then verify your domain (step 2). Only then come back and type your domain into the box and click Activate.
If you type the domain in too early, you'll get the red "Your Google Workspace domain is not verified" message in the photo above. It's harmless. Finish the next steps and resubmit.
Step 3: Verify You Own Your Domain
After creating the Workspace account, you'll land in the Google Admin console with a red banner across the top:
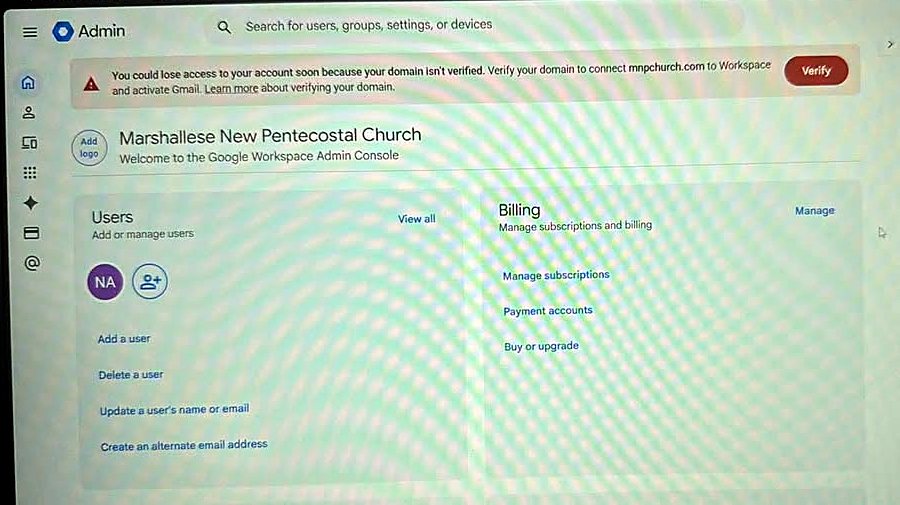
Click Verify. Google lays out the two jobs ahead: prove you own the domain, then turn on Gmail.
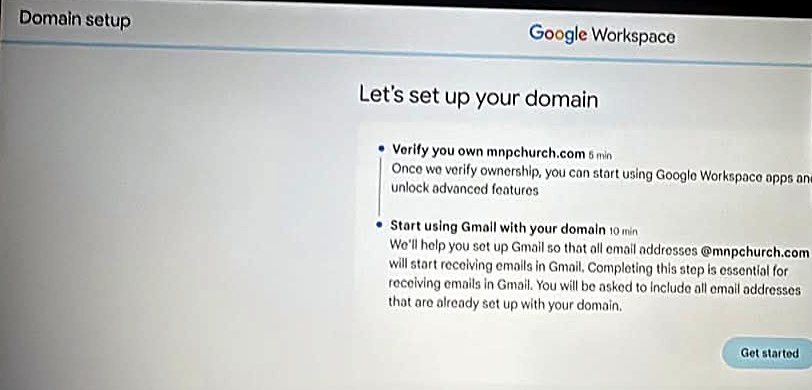
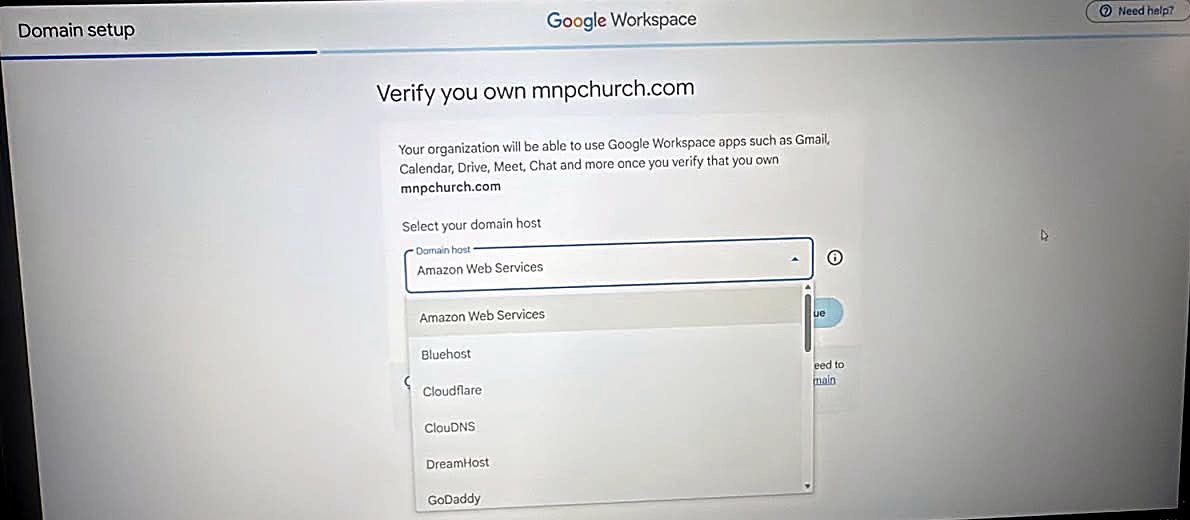
Click Get started, then pick where your domain is managed from the dropdown:
Next Google shows you a verification code. This is a line of text you'll paste into your domain's settings to prove the domain is yours.
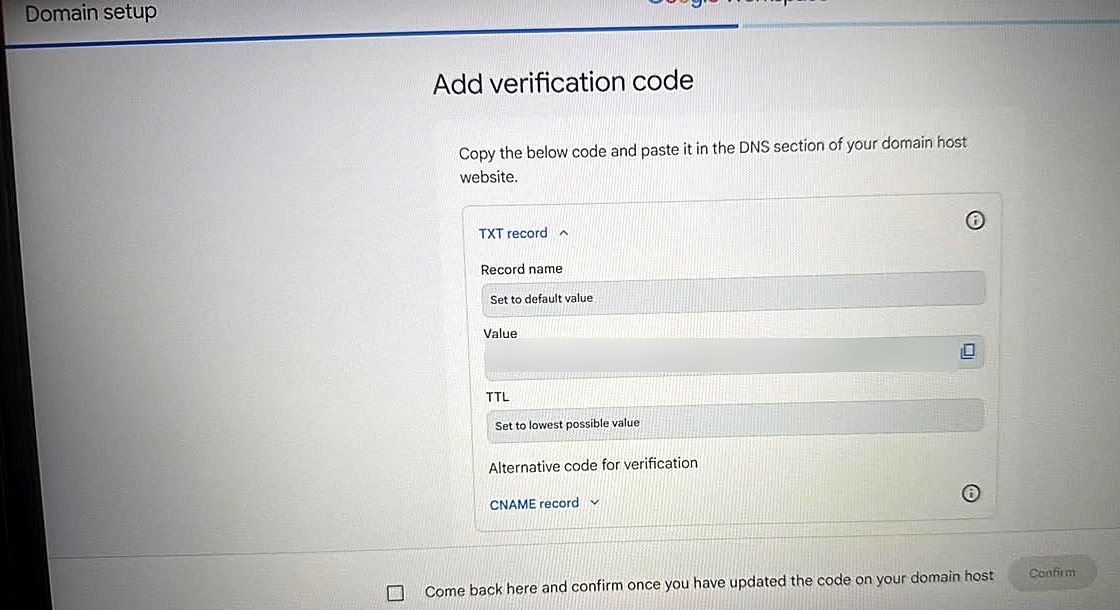
google-site-verification=.In another tab, log in to your domain host and find the DNS settings (sometimes called DNS records, Manage DNS, or Advanced DNS). Add a new record:
- Type: TXT
- Name / Host: leave it blank, or type
@. This is what Google means by "Set to default value." - Value: click the copy icon next to the code in Google, then paste it here
- TTL: the lowest option available
Save it, go back to Google, tick "Come back here and confirm once you have updated the code," and click Confirm.
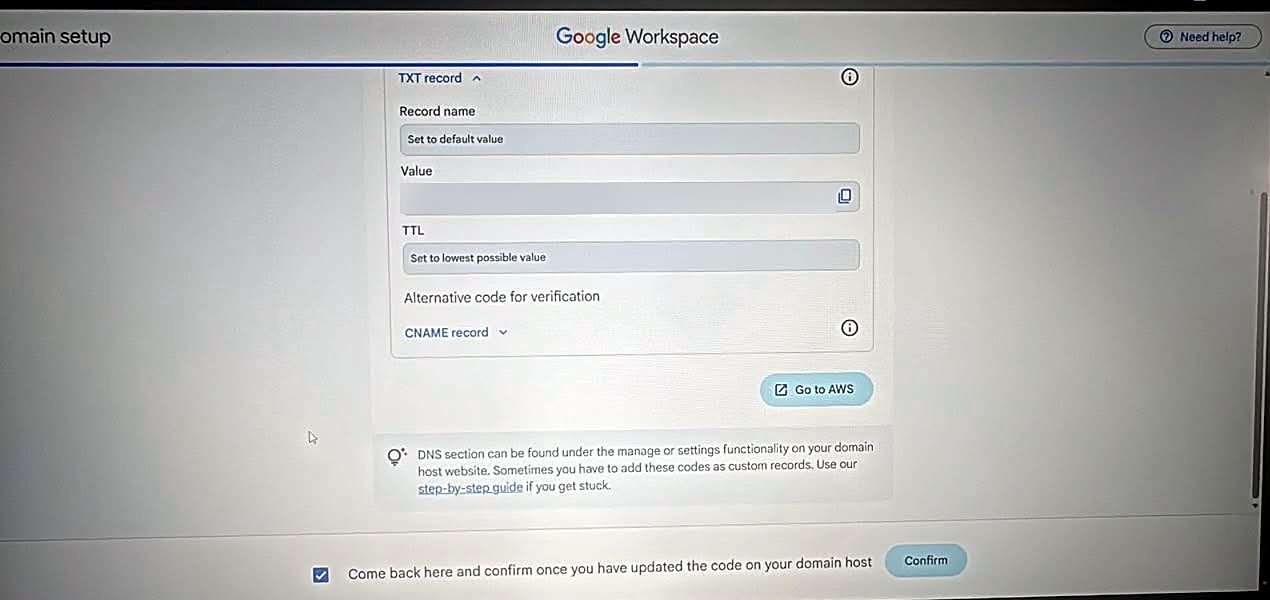
Sometimes it goes through right away. Sometimes Google needs a few minutes to see the change. If it says it can't find the code, wait fifteen minutes and click Confirm again. When it works, you'll see this:
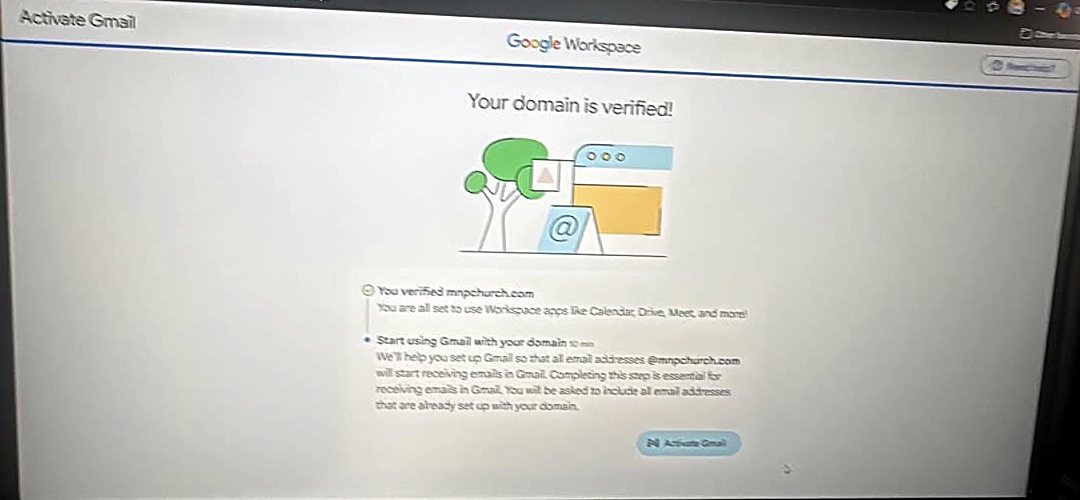
Step 4: Turn On Gmail for Your Domain
Click Activate Gmail. Google first asks you to list every email address that already exists on your domain, so nobody's mail gets cut off during the switch:
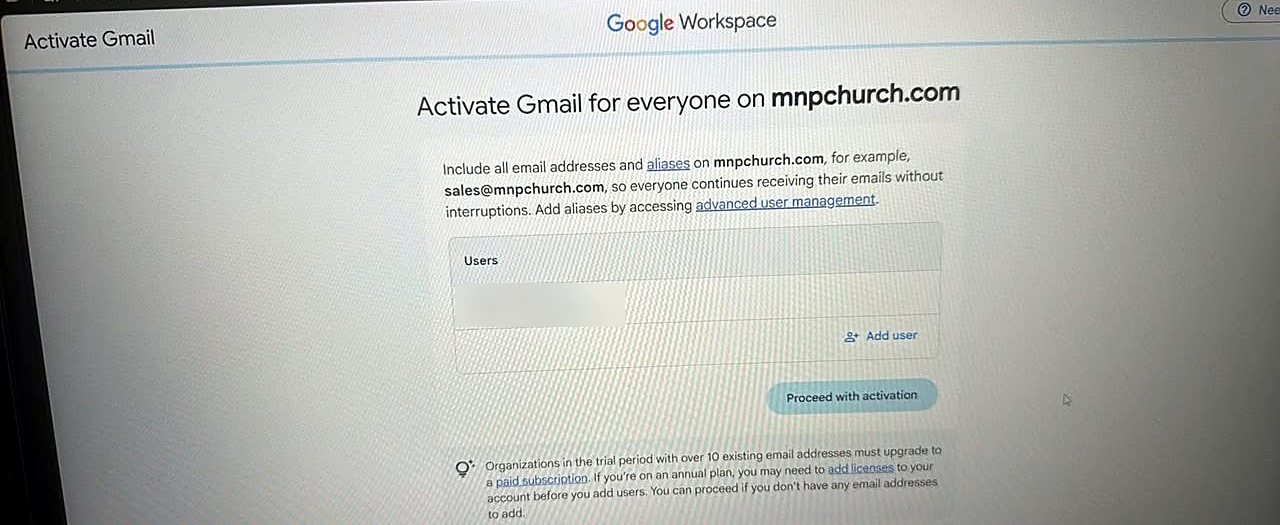
This matters more than it looks. When you finish this step, all email to your domain starts flowing to Google. If your secretary has an existing office@yourchurch.com address somewhere else and you don't add her here, her mail will stop arriving.
Click Proceed with activation. Google gives you an MX record, which tells the internet where to deliver your church's mail:
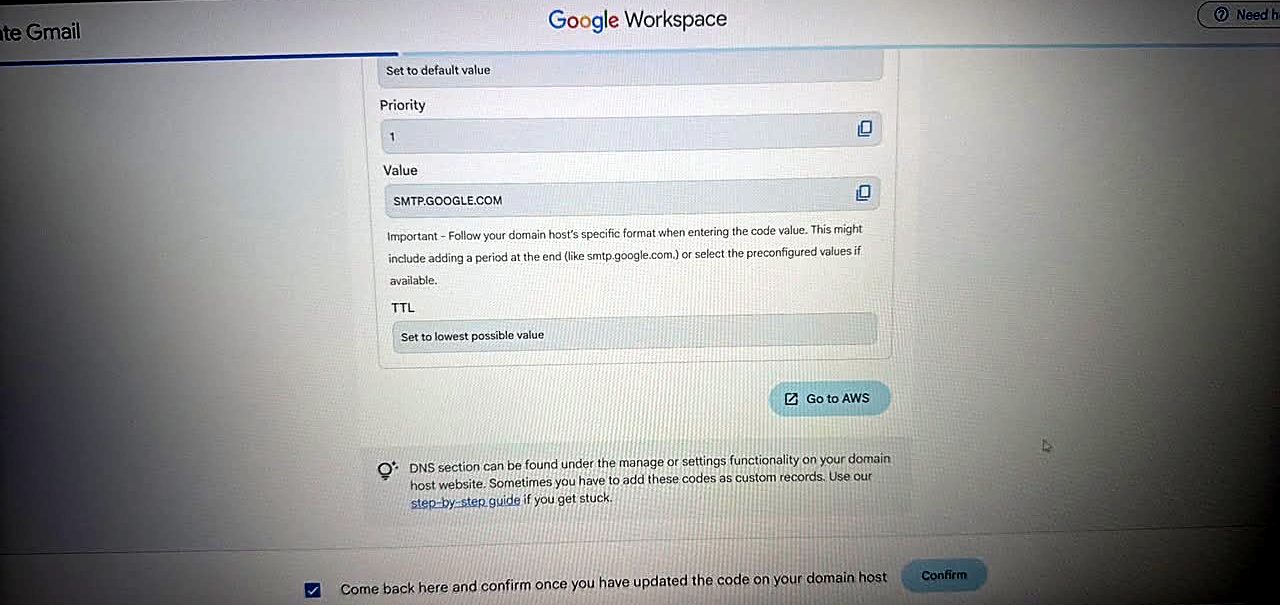
SMTP.GOOGLE.COM.Back at your domain host, add:
- Type: MX
- Name / Host: blank or
@ - Priority: 1
- Value / Points to:
smtp.google.com. Some hosts want a period on the end (smtp.google.com.), as Google's note says.
Then delete any old MX records that point somewhere else. Leftover MX records are the number one reason "my new email isn't getting anything." Confirm in Google, and:
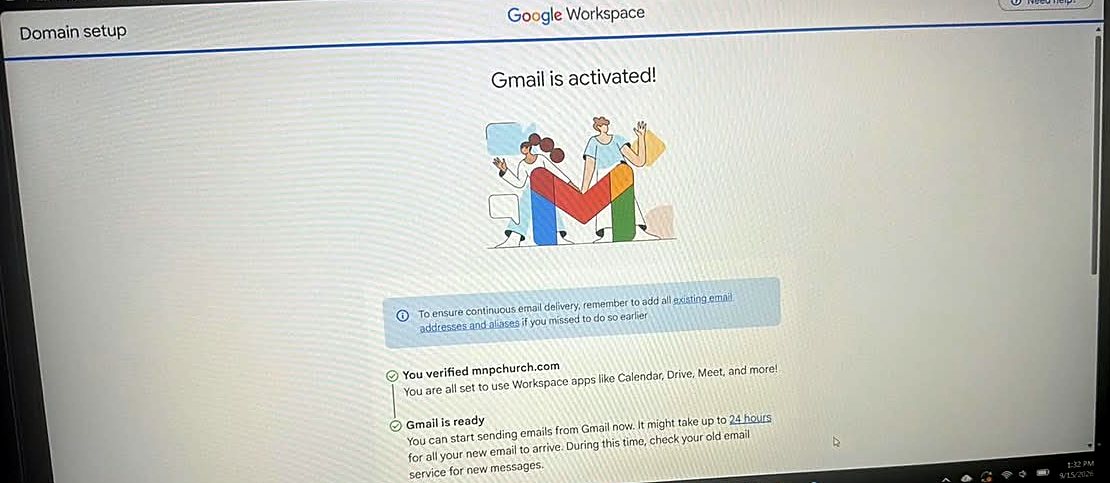
Step 5: Set Up DKIM So Your Emails Don't Go to Spam
Most guides skip this step, and it's the one we got stuck on.
DKIM is a digital signature attached to every email your church sends. It proves the message really came from yourchurch.com and wasn't forged. Without it, Gmail, Outlook, and Yahoo are more likely to treat your church newsletter as suspicious and file it in spam.
Google walks you into DKIM setup right after Gmail. Leave the key length at 2048 and click Generate key:
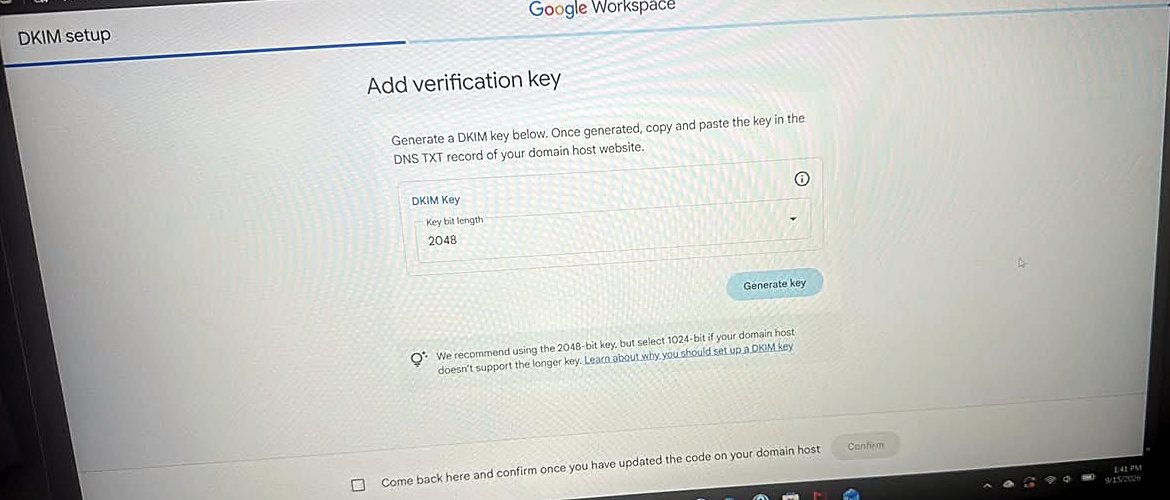
Google produces a record name and a very long value:
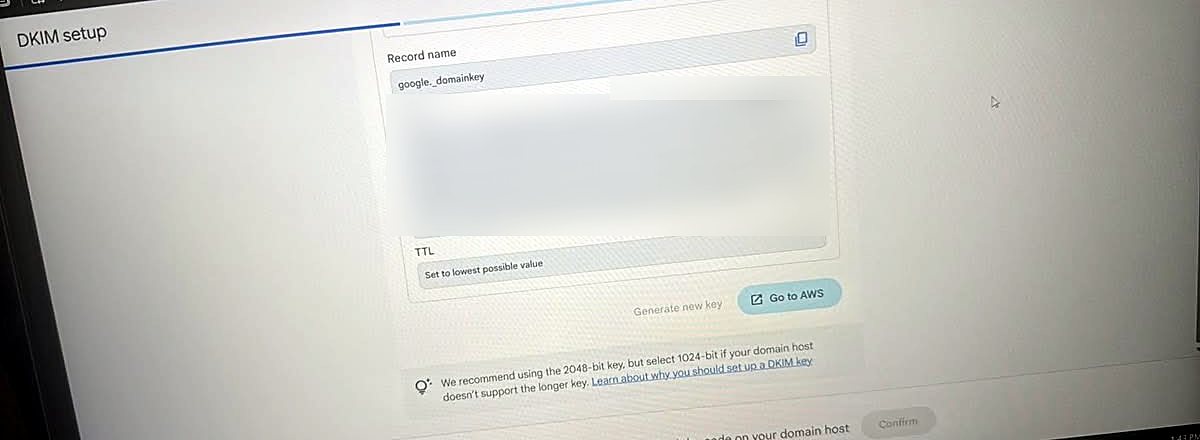
google._domainkey, and a key several lines long (blurred here). Use the copy icon.Add it at your domain host as:
- Type: TXT
- Name / Host:
google._domainkey - Value: the whole key, starting with
v=DKIM1;
Here's where we got stuck. The pastor sent me a photo of this screen so I could add the record for him. But you can't copy text out of a photo, and a key this long can't be retyped without a mistake. One wrong character and the signature silently fails. What finally worked was having him click the copy icon on his own computer and email me the text.
If someone else manages your domain, do the same: copy and paste the key into an email or text. Don't send a screenshot.
Two more tips:
- Some hosts choke on long keys. Amazon's Route 53 and a few others limit each piece of text to 255 characters. If yours complains, split the key into two quoted chunks (
"first half" "second half"), or generate a 1024-bit key instead. - Don't generate a new key halfway through. Each click of Generate new key makes the old one useless. If you've already sent it to someone or pasted it, stick with that one.
Tick the confirmation box and click Confirm. Google checks the record:
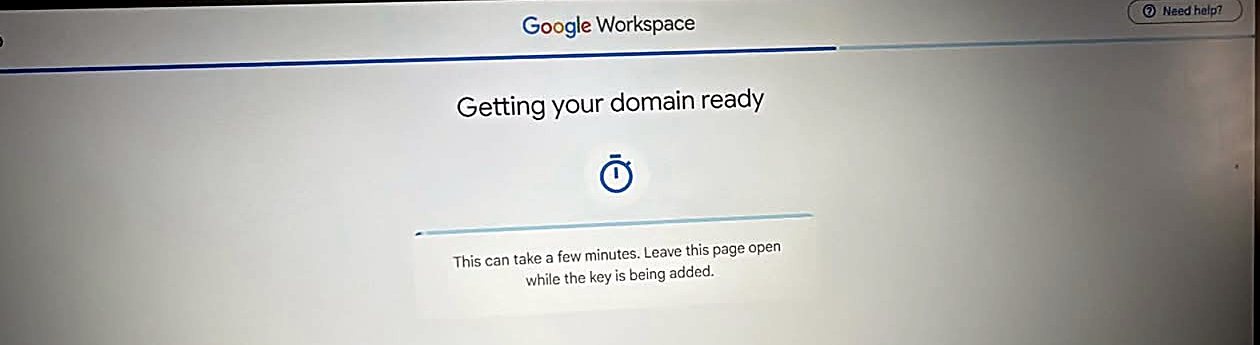
If it doesn't finish, you can come back any time: Admin console → Apps → Google Workspace → Gmail → Authenticate email → Start authentication.
Also add an SPF record. The wizard didn't ask for this one, but you should add it anyway. It's another TXT record at @ with the value v=spf1 include:_spf.google.com ~all. It lists Google as allowed to send mail for your domain. If you already have an SPF record (from a website form service, for example), don't add a second one. Add include:_spf.google.com to the existing one.
Step 6: Submit Your Domain and Wait
Now go back to Google for Nonprofits, open the Workspace card from Step 2, type your domain, and click Activate. This time there's no red error. You'll see:
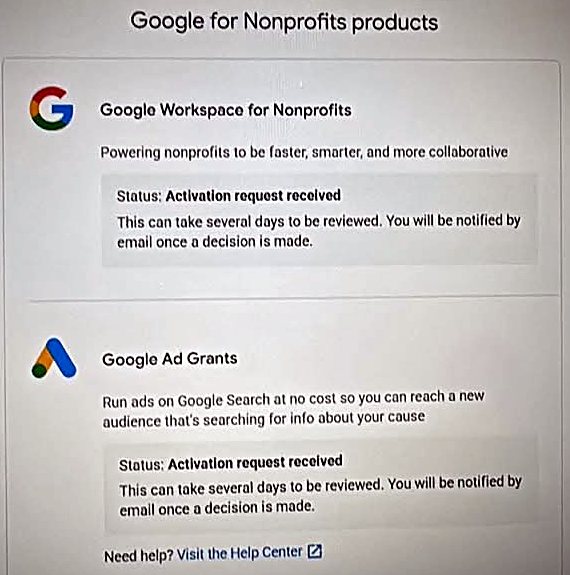
Google reviews the request (it says up to 3 business days) and emails you when you're approved. Until then your Workspace runs on a trial, which is fine. Your email already works.
The Snags We Hit (So You Don't)
- Signed in as the wrong person. Look at the address bar: the pastor's said
/u/2/, which means he was signed in to three Google accounts at once and was on the third. Half our confusion was him being on gmail.com in one account and admin.google.com in another. Do this in a private/incognito window or a separate browser profile, signed in only as the church's admin. - Typing the domain before verifying it. It gives you the red error from Step 2. Verify first, then submit.
- Sending a screenshot of a key. Copy and paste. Always.
- Forgetting existing addresses. List every current address on your domain before activating Gmail, or mail to them stops.
- Old MX records left behind. Delete them.
- Browser pop-ups covering the page. His browser kept showing a shopping "cash back" pop-up right over the Google buttons. Close it or click Do not show. It has nothing to do with Google.
One More Thing: Ad Grants Will Look at Your Website
A few days later, the pastor's Ad Grants request came back with this:
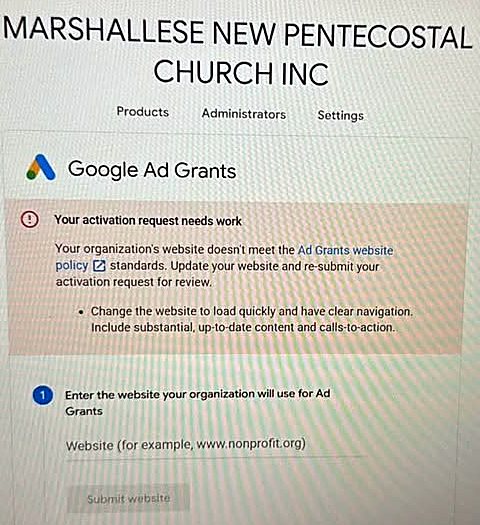
This is very common. Google isn't going to give $10,000 a month in free ads to send people to a page that's slow, out of date, or doesn't tell a visitor what to do next. It wants a real site: current service times, what to expect on a first visit, ministries with actual descriptions, and a clear way to plan a visit or get in touch.
If that's where you are, fix the website first, then resubmit from the same Ad Grants card. If you're not sure how your site measures up, the free Church Website Score will tell you in about a minute what Google (and a first-time visitor) sees.
It's Worth the Afternoon
None of this is ministry, exactly. But it clears the way for ministry. A church email that reaches people's inboxes, a shared calendar your volunteers can actually find, and a search ad that puts your church in front of someone typing "church near me" at midnight all keep the door open a little wider.
Get it done in one sitting if you can: approval first, then domain, Gmail, and DKIM. And if you get stuck on a screen, send the person helping you the text, not the photo.